
How to set up Facebook Business Manager
Step 1. Create a Facebook Business Manager account
The first stage of setting up Business Manager is to create an account. You’ll need to use a personal Facebook profile to confirm your identity but, as mentioned above, your coworkers and partners won’t have access to the personal information in that account.
- Go to business.Facebook.com and click the big blue Create Account button in the top right.
- Enter your business name, your name, and the business email address you want to use to manage your Facebook Business Manager account, then click Next.

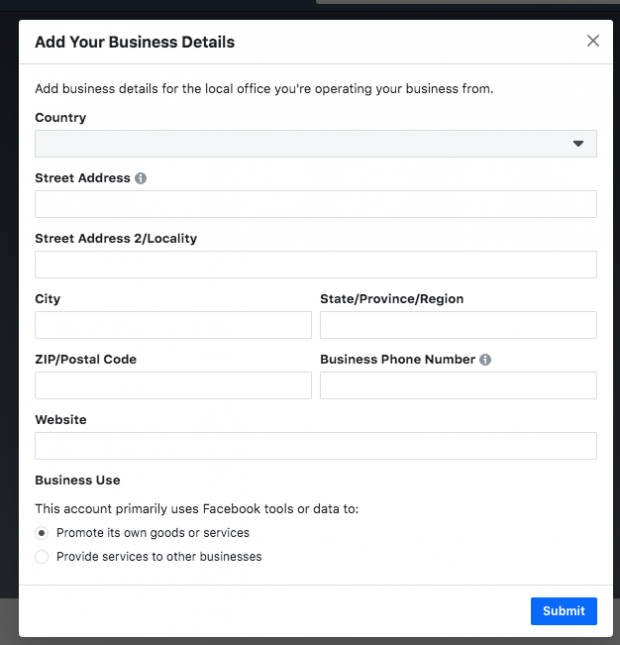
- Enter your business details: address, phone number, and website. You’ll also need to specify whether you’ll use this Business Manager account to promote your own business, or to provide services to other businesses (like an agency). When you’re finished, click Submit.
- Check your email for a message with the subject line “Confirm your business email.” Within the message click Confirm Now.
Step 2. Add your Facebook business page(s)
To add your Facebook page to Facebook Business Manager:
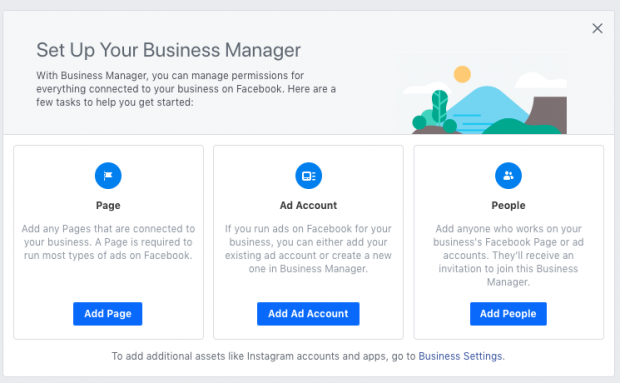
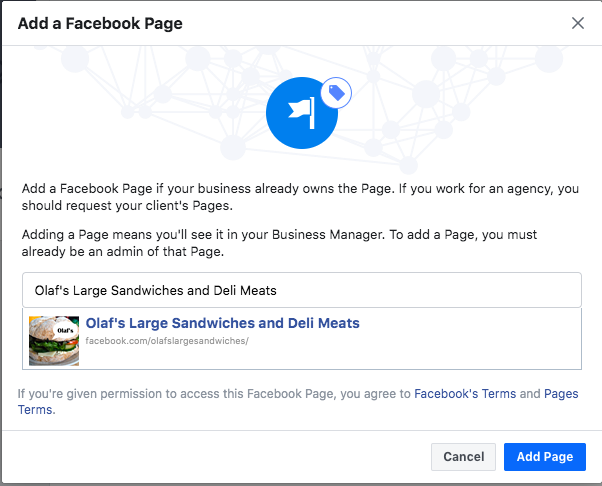
- From the Business Manager dashboard, click Add Page.Then, in the pop-up box, click Add Pageagain.
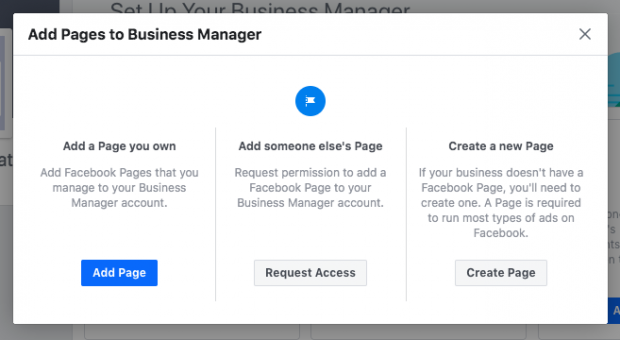
- Start typing the name of your Facebook business page in the text box. Your business page name should autocomplete below, so you can just click on it. Then click Add Page. Assuming you have administrator access to the page you’re trying to add, your request will be approved automatically.
- If you have more than one Facebook page associated with your business, add the remaining pages by following the same steps.
Step 3. Add your Facebook ad account(s)
Note that once you add your ad account to Facebook Business Manager, you can’t remove it, so it’s especially important only to add accounts you own. To access a client account, click Request Accessinstead.
If you’re already using Facebook ads, you can link your existing ad account as follows:
- From the Business Manager dashboard, click Add Ad Account, then Add Ad Account again, and then enter the ad account ID, which you can find in Ads Manager.
If you don’t already have a Facebook ads account, here’s how to set one up.
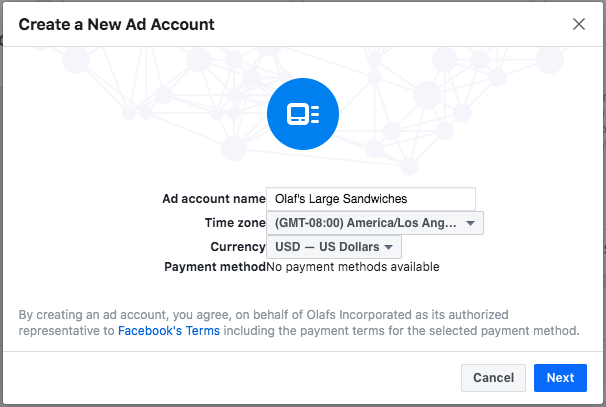
- From the Business Manager dashboard, click Add Ad Account, then Create Account.

- Enter your account details, then click Next.
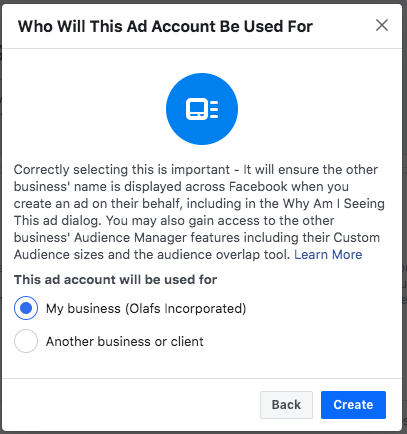
- Indicate that you are using the ad account for your own business, then click Create.
Each business can create one ad account right from the start. Once you are actively spending money in your first ad account, you will be able to add more based on your advertising spend. There is no option to request more ad accounts.
Step 4: Add people to help you manage your Facebook assets
- From your Business Manager dashboard, click Add people.
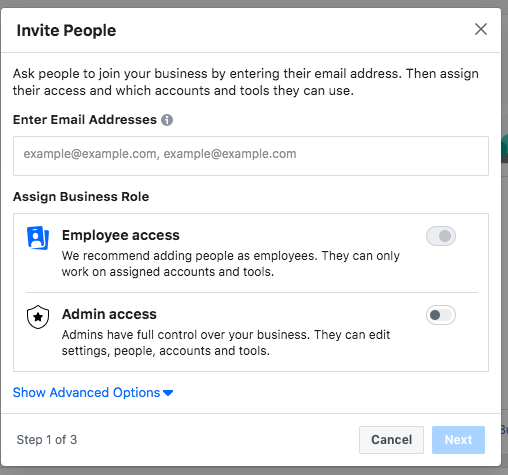
- In the pop-up box, enter the business email address of a team member you want to add. This might include employees, freelance contractors, or business partners, In this step, you are specifically adding individuals, rather than an agency or another business (you can do that in the next step).
You can decide whether to give these individuals limited account access (choose Employee access) or full access (choose Admin access). You can get more specific in the next stage. Make sure to add people using their work email addresses. Then click Next.
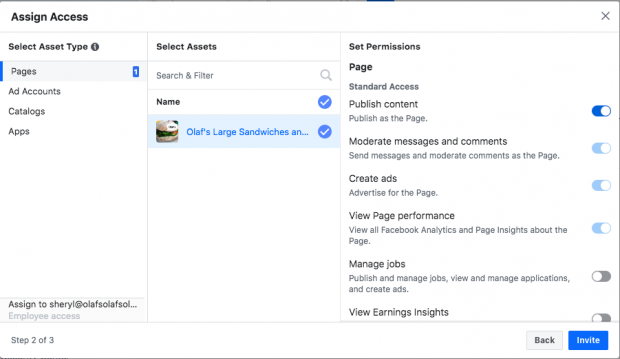
- In the left menu, click on Pages. Choose which pages you want this team member to work on. Customize the individual’s access using the toggle switches.
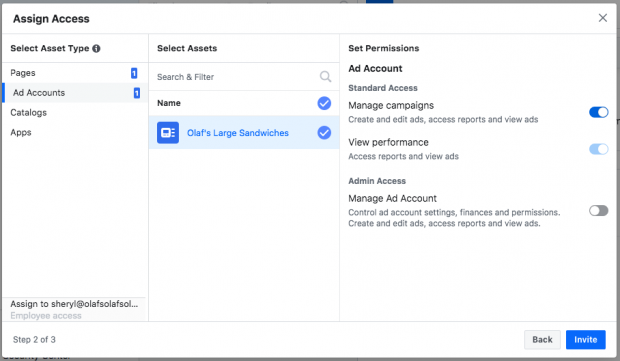
- Go back to the left menu and click on Ad Accounts. Again, customize the user’s access using the toggle switches. When you’re finished, click Invite.
In the left menu, you’ll also see options to add people to catalogs and apps, but you can skip these for now.
- To add more team members, click Add More People. When you’re finished, click Done.
- Now you need to wait for each of the individuals to accept your invitation to be part of your Facebook Business Manager team.
They will each receive an email with information about the access you’ve given them and a link to get started, but it would be a good idea for you to send them a personal note or let them know directly that you’re giving them this access and they should expect the automated email with the link.
Read More