How to Create an Android App With Android Studio
creating an Android app requires the SDK (Software Development Kit), an IDE (Integrated Development Environment) like Android Studio or Eclipse, the Java Software Development Kit (JDK) and a virtual device to test on. All this takes work to set up, and that’s before you’ve even started looking into things like Google Play Services, screen sizes, API levels ,now start how to create android app?
Step 1: Download Android Studio
To program in most languages, you need a piece of software called an IDE or ‘Integrated Development Environment’. The most common IDE for Android development is Android Studio, which comes direct from Google itself. You can get it here.
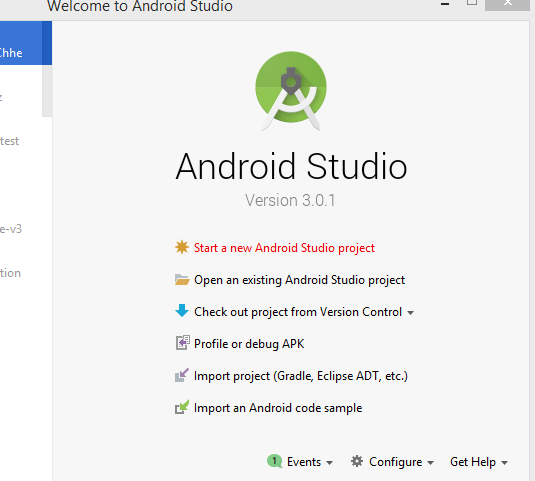
Step 2. Start New Project
- Open Android Studio.
- Under the “Quick Start” menu, select “Start a new Android Studio project.”
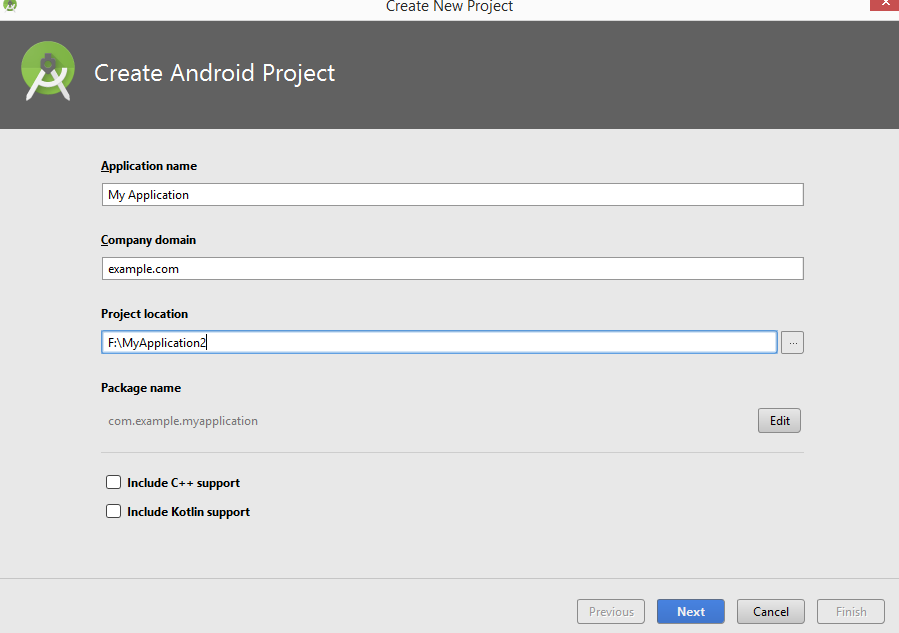
- On the “Create New Project” window that opens, name your project “My Application”.
- If you choose to, set the company name as desired* example.com .
- Note where the project file location is and change it if desired.
- Click “Next.”
- Make sure on that “Phone and Tablet” is the only box that is checked.

- If you are planning to test the app on your phone, make sure the minimum SDK is below your phone’s operating system level.
- Click “Next.”
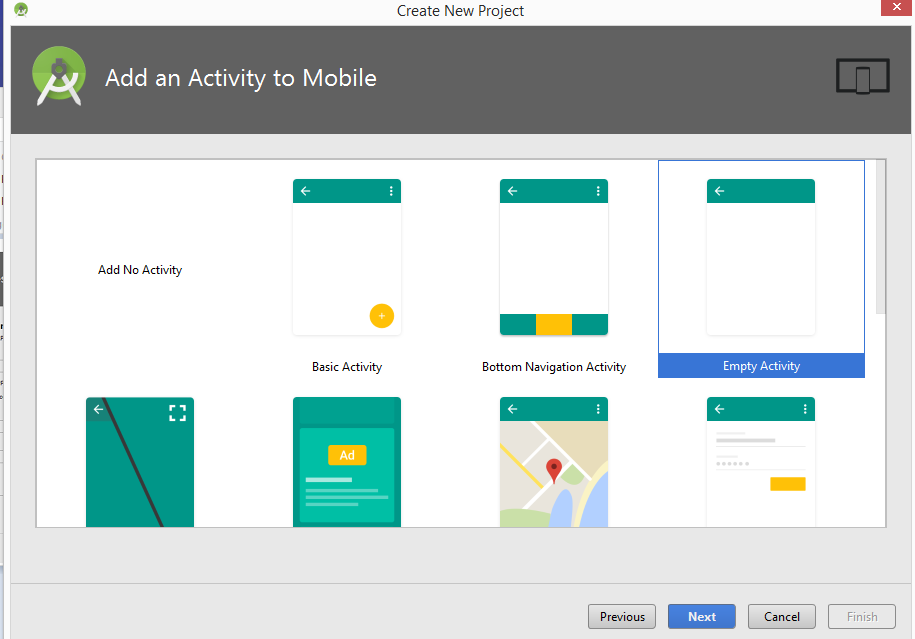
- Select “Blank Activity.”
- Click “Next.”
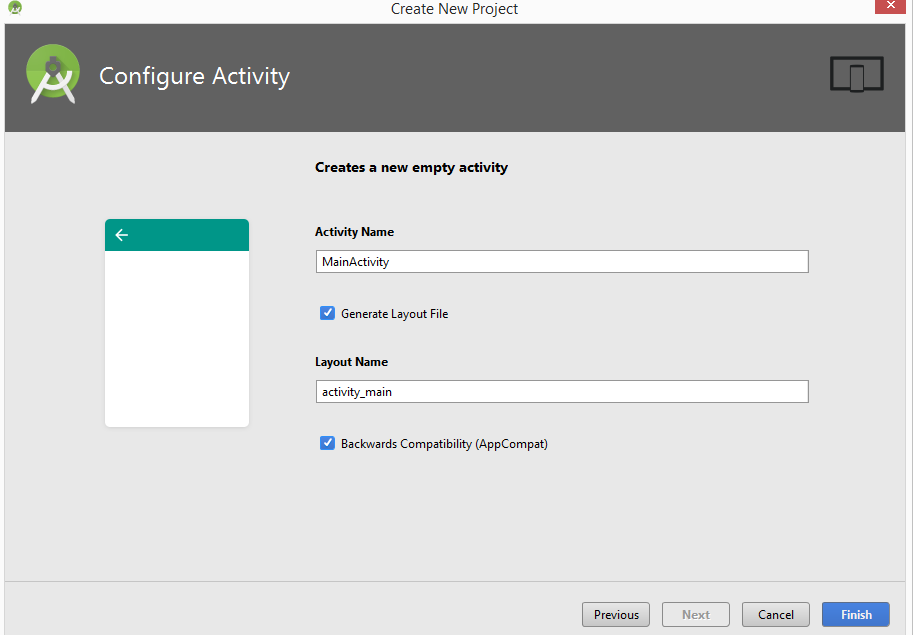
- Leave all of the Activity name fields as they are.
- Click “Finish.”
*Note: It is typical naming convention in Android projects to set the company name as some form of “example.name.here.com”
More Read